Usage Guide
How to use Annodex after installation.
Workspace overview
Annodex is organized around a project directory. Everything in the left sidebar and Files panel is scoped to the active project.
- Project switcher — dropdown at the top of the sidebar lists all unpinned projects; use Add project… to browse for a new folder.
- Pin — pinned projects appear as Projects folders in the sidebar with their chat history; drag pinned folders to reorder.
- Projects — sidebar folders for pinned projects (and the active unpinned project while selected); each folder expands to its chat tree.
- Chat — ask questions, run analysis, switch models, paste images, attach documents. Toggle Extensions from the input bar (icon-only on mobile).
- Files — open project files; preview Markdown, images, reports, and outputs.
- Notebook — interactive Jupyter notebook for data analysis: create, edit, and run Python/R cells; switch between scratch notebooks and
.ipynbfiles; use Target button in chat to route messages to the notebook. - Tools — see active agent runtimes, abort a running turn, and inspect project memory.
See Project Memory. Configure Project IM under Settings → Project. See Project IM.
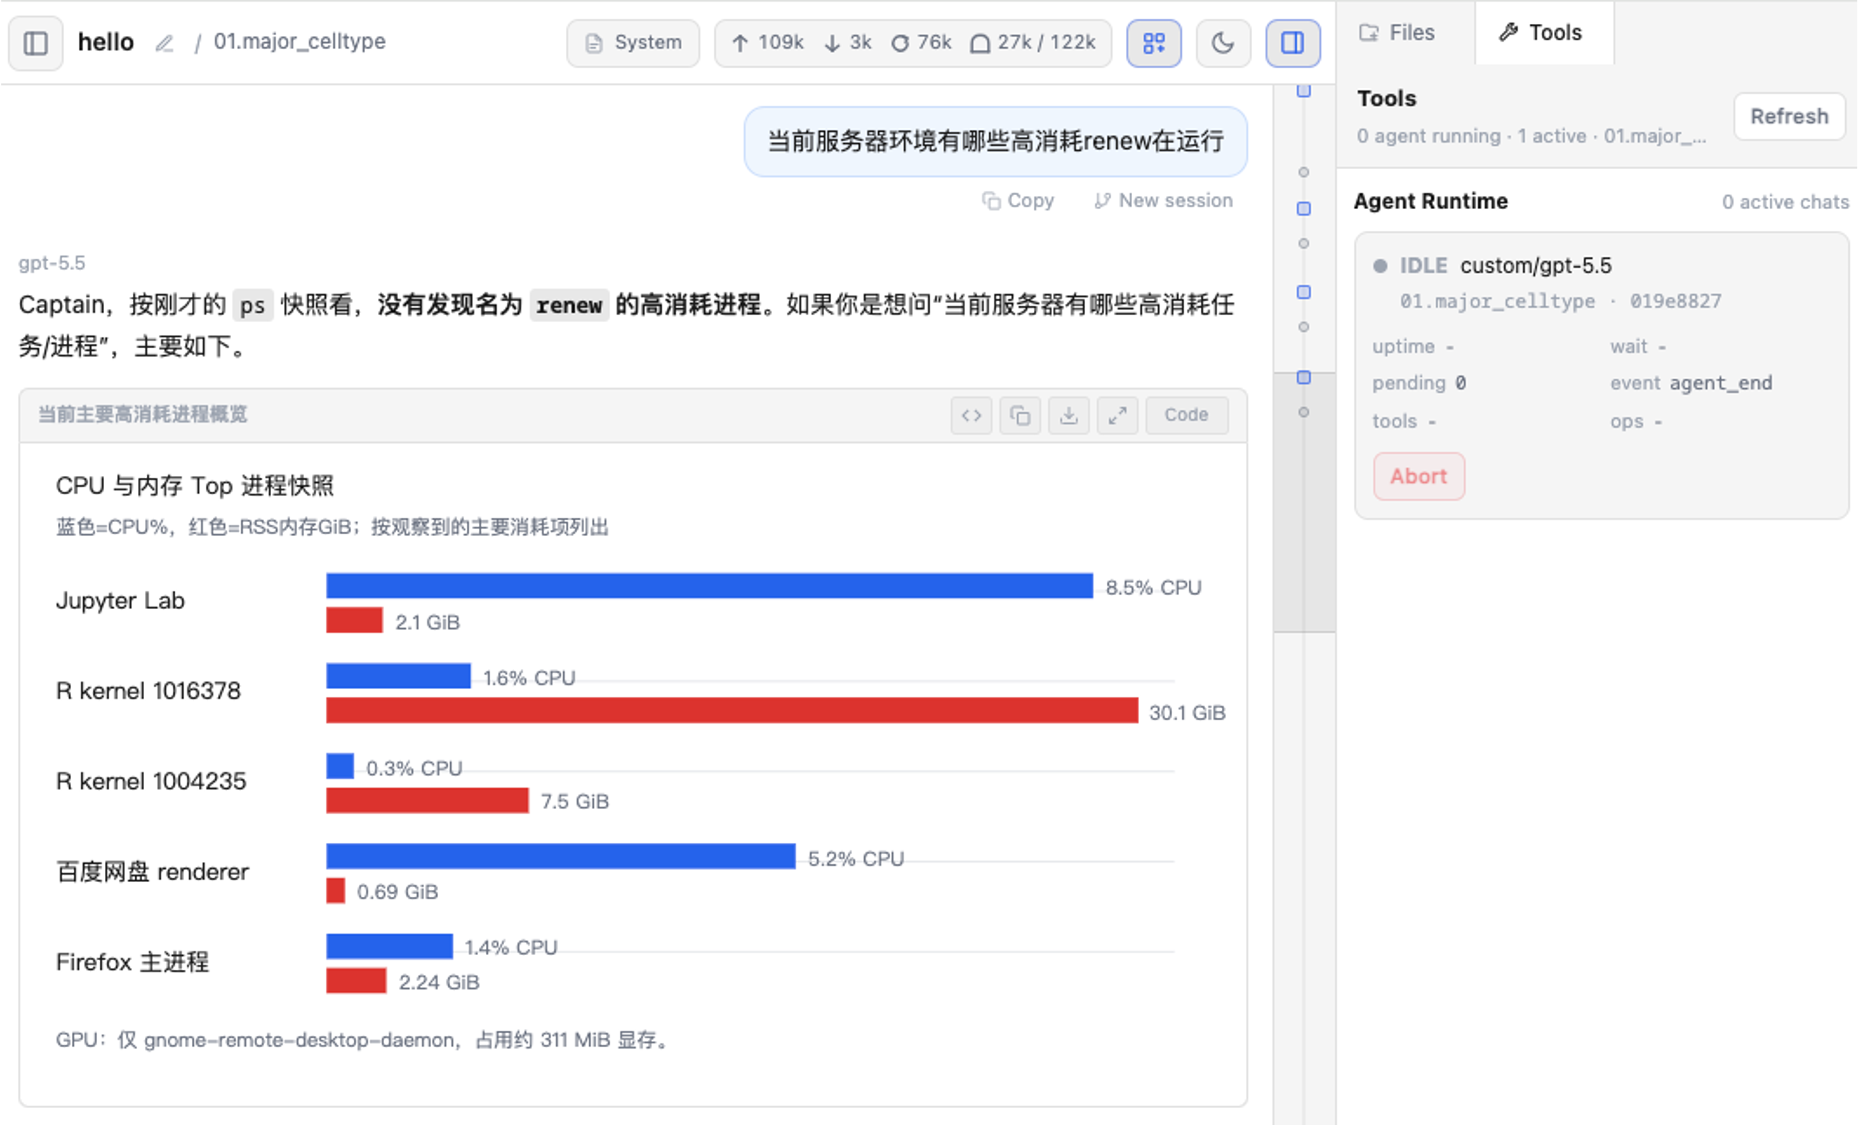
Choose and pin projects
- Open the project switcher under the Annodex title.
- Pick an unpinned project from the dropdown, or choose Add project… to register a directory.
- Manage projects in Settings → Project: drag to reorder, rename, view chat stats, and configure WeCom IM.
- Pinned projects stay as expandable Projects folders with chat history. Unpinned projects remain in the dropdown; the active unpinned one also appears as a temporary sidebar folder.
On first launch, annodex selects your most recently used project automatically.
Configure models
Open Settings → Models to add an API key and enable models.
For a quick setup:
- Click Settings.
- Open Models.
- Click Add provider.
- Choose a preset (Moonshot AI, Zhipu AI, MiniMax, OpenRouter, etc.) or a custom OpenAI-compatible endpoint.
- Paste your API key and save.
Config is stored in ~/.config/annodex/providers.json — the directory must be writable (see Configuration).
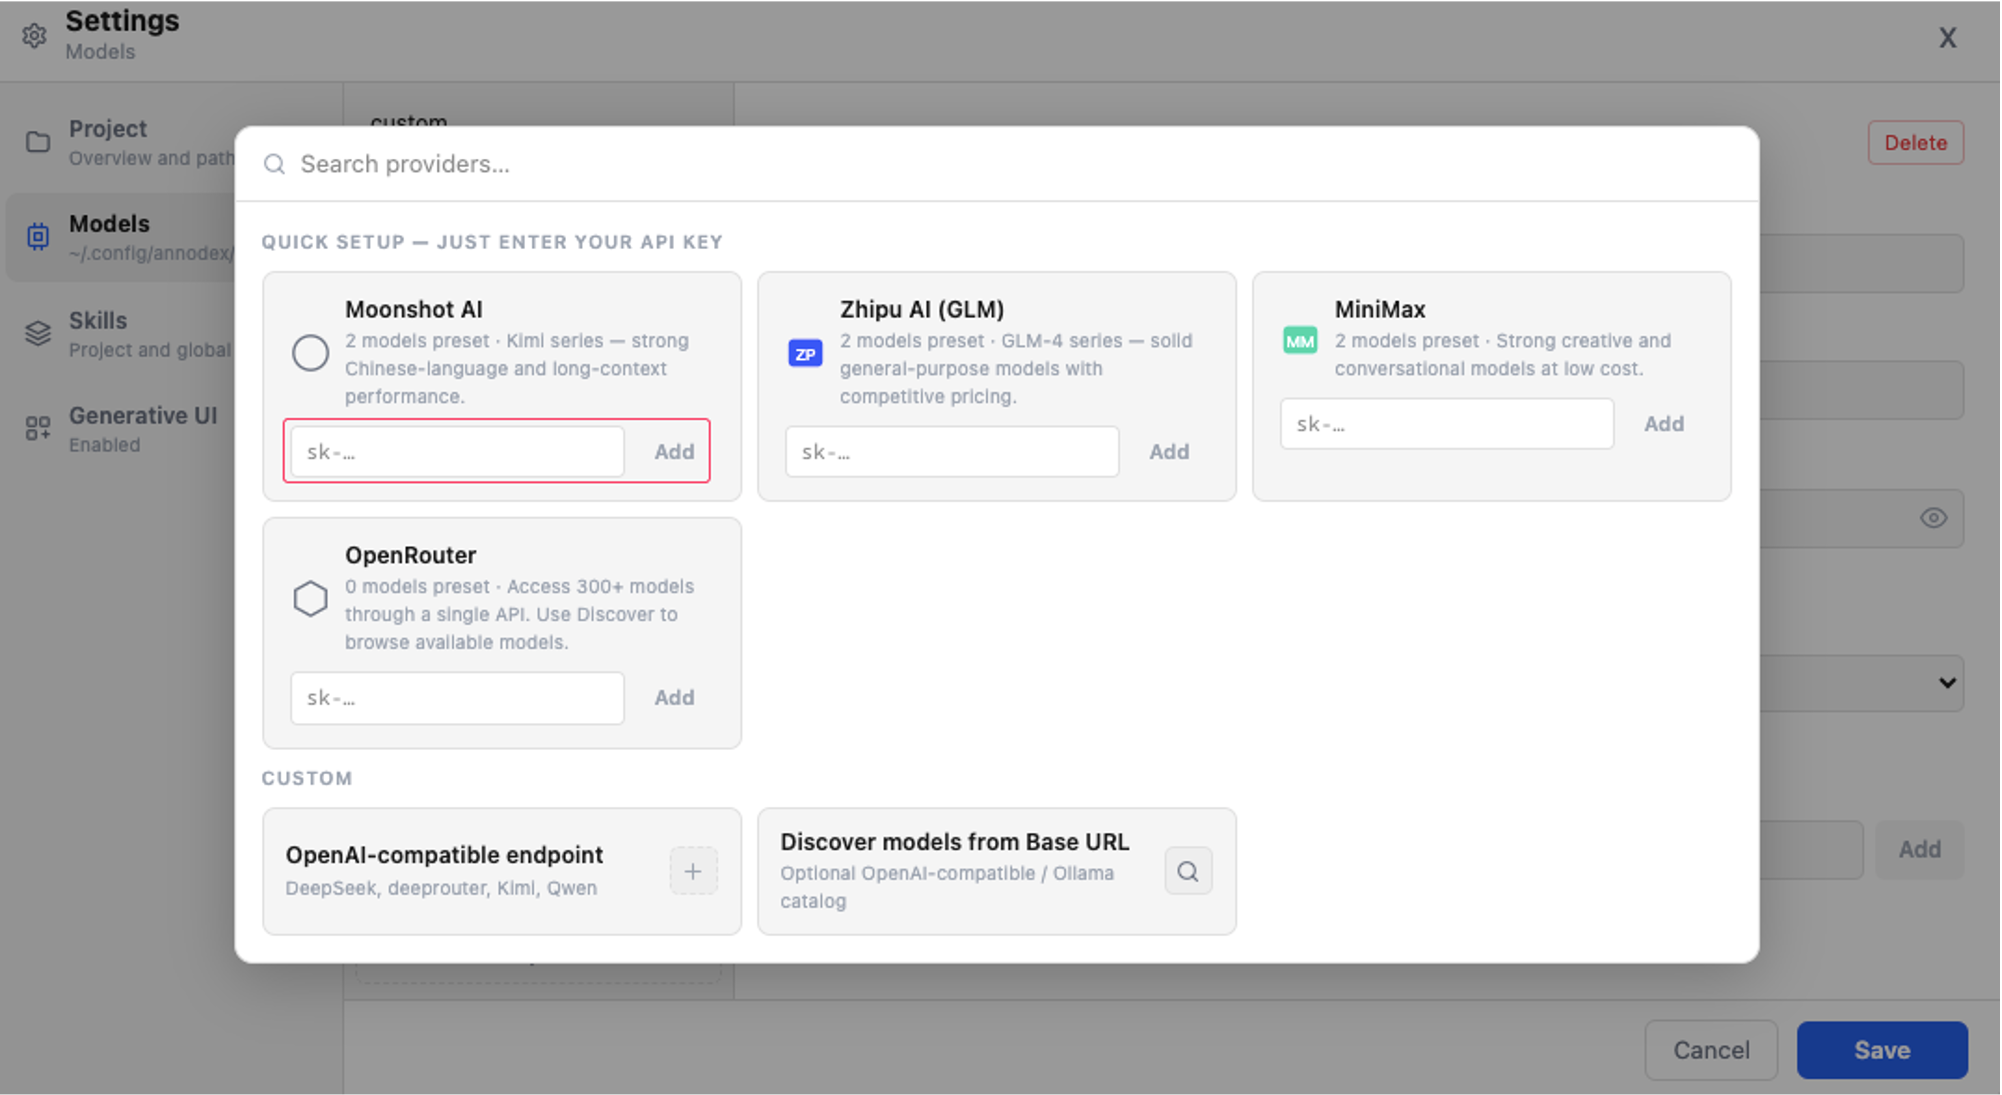
After saving, choose the model from the chat model selector.
Switch models and chat settings
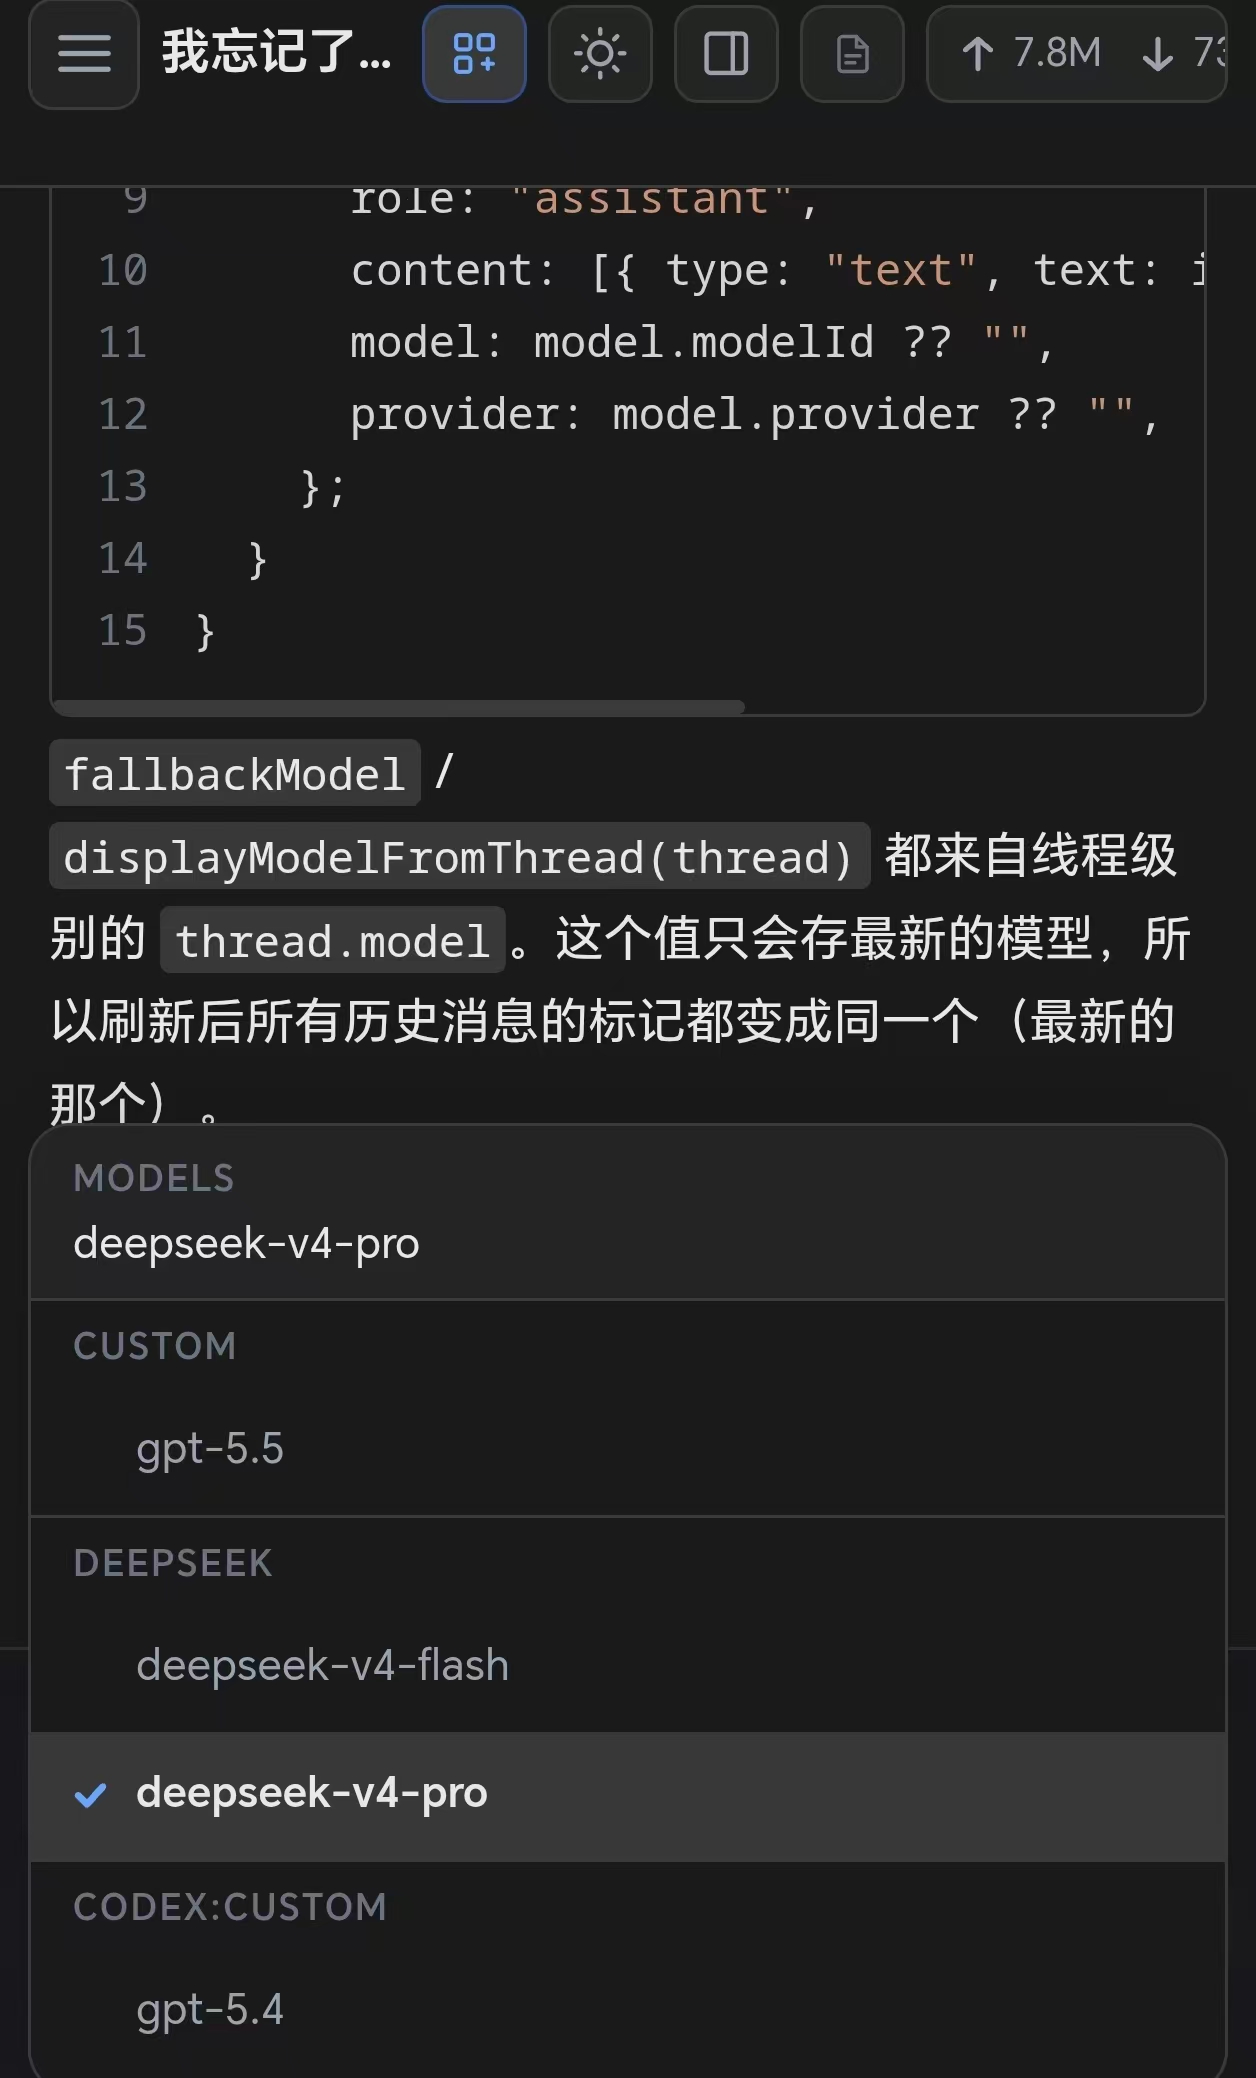
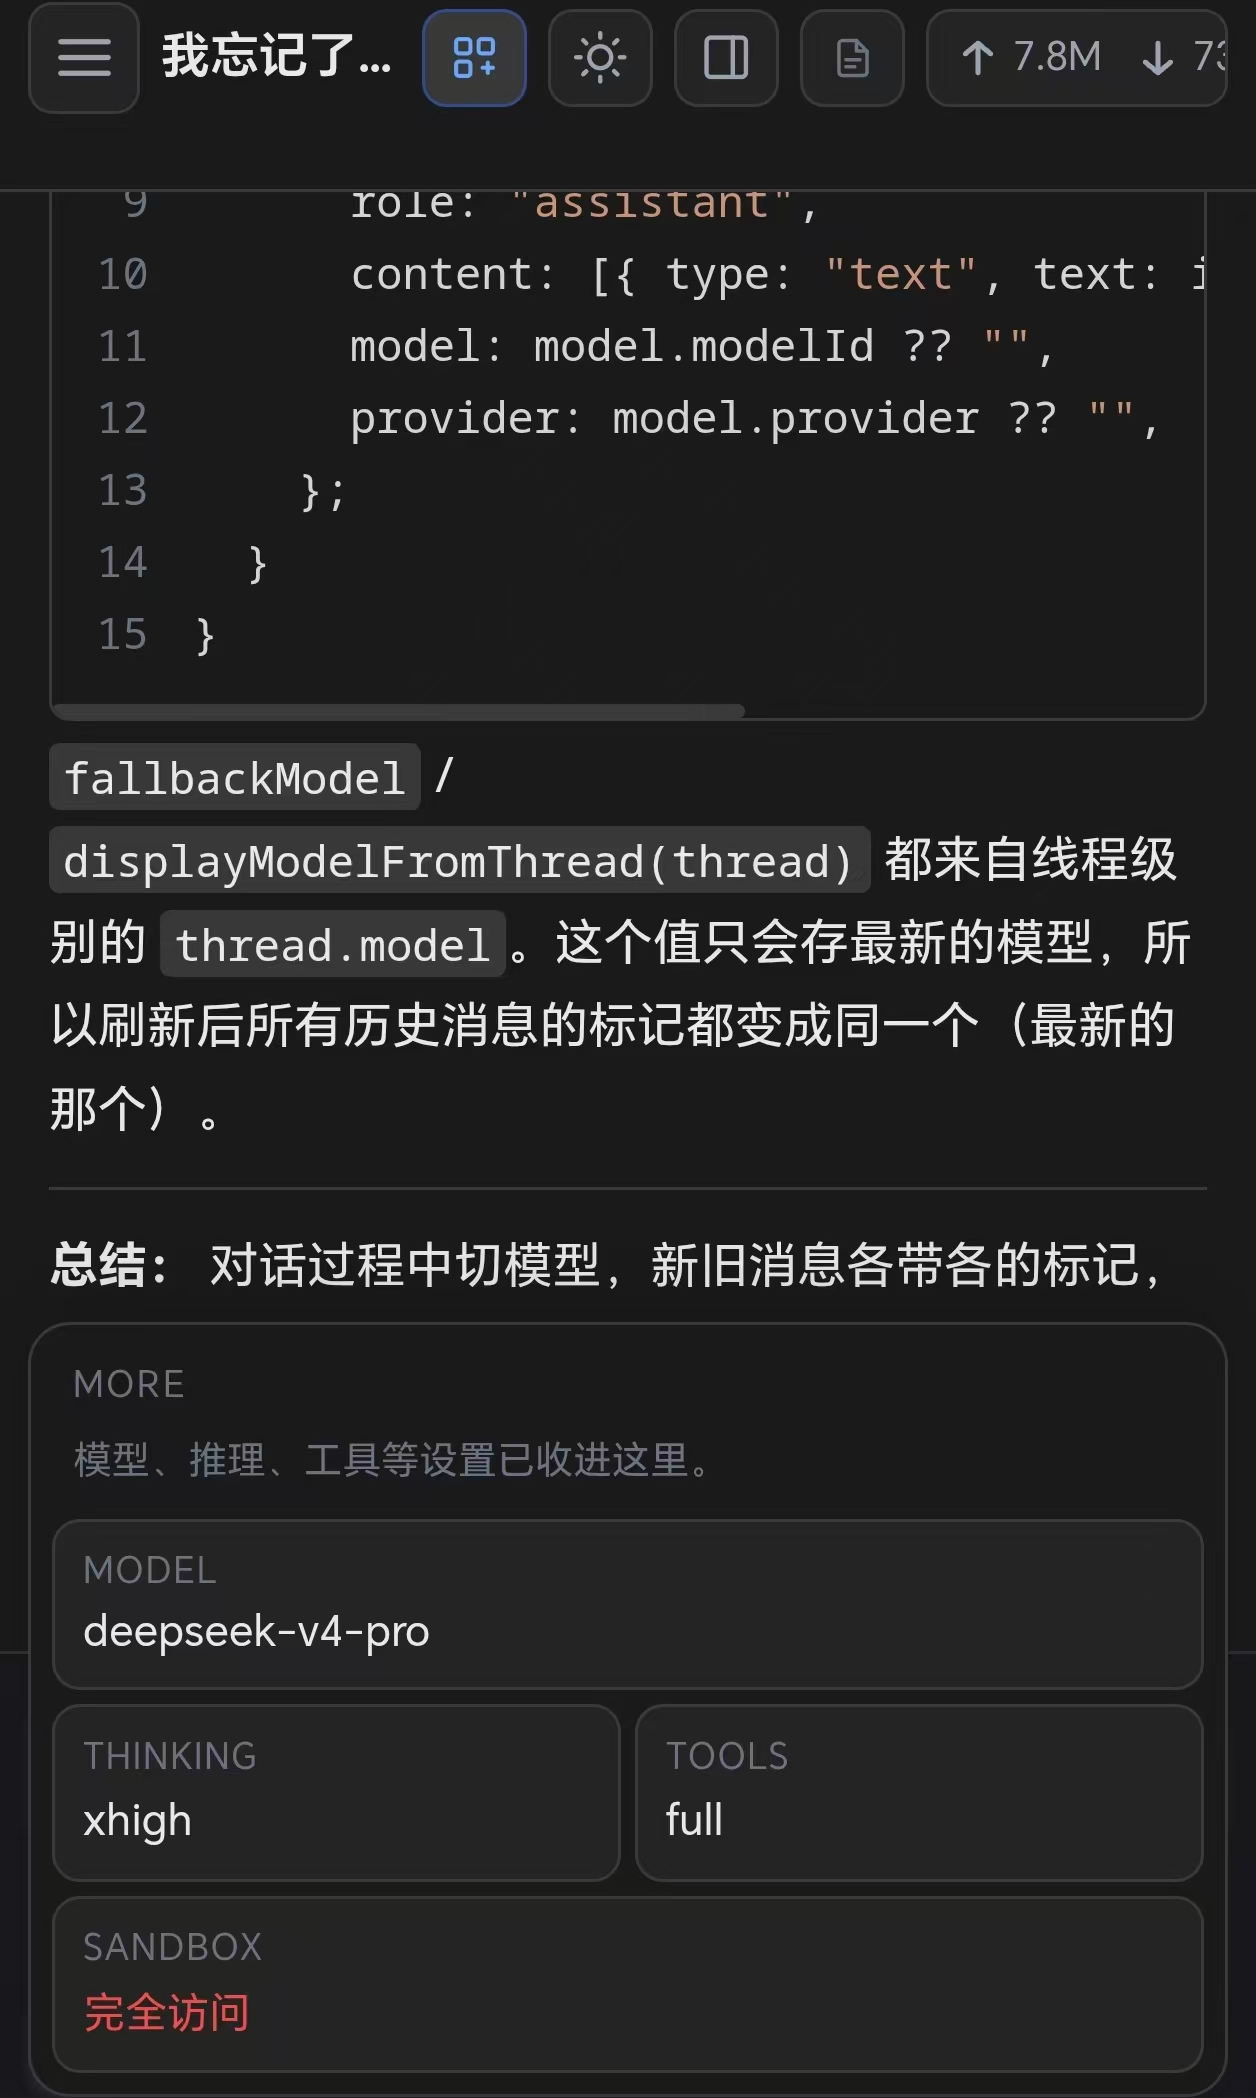
In the chat input area, use the model selector for the next message. Open More to adjust thinking level, tool preset, and sandbox mode.
Native slash commands include /goal (Codex thread objective) alongside compact and other Codex commands where supported.
Interactive Notebook (Science)
The right panel has a permanent Notebook tab for interactive data exploration — a Jupyter-powered cell environment using thebe-core.
Starting the notebook
- Click the Notebook tab in the right panel.
- Click Start managed Jupyter server to launch a local Jupyter server. Python kernel must be available (
ipykernelrequired). - Once the kernel connects, you can create, edit, and run code cells — just like Jupyter in the browser.
- Click ▶ Run All to execute all cells, or click ▶ Run on individual cells (Shift+Enter).
Switching notebooks
The Notebook: dropdown at the top of the panel lets you switch between:
- Scratch notebook — a blank session for ad-hoc exploration
.ipynbfiles from the current project directory (and subdirectories)
The dropdown scans the project recursively for .ipynb files up to 8 levels deep (up to 500 files).
Chat target routing
In the chat input bar, click the Target button to choose how messages interact with the notebook:
| Target | Behavior |
|---|---|
| Chat | Normal conversation — the agent does not touch the notebook |
| Notebook | Agent receives [annodex target: notebook] instructions and uses the notebook API to add/edit/execute cells and return results in chat |
| Auto | Agent decides conservatively whether to use the notebook based on the request context |
Use Notebook target when you explicitly want to analyze data or run code. Use Auto when you want the agent to decide.
Notebook API
The agent can create, read, update, execute, and delete cells via REST API at /api/notebook/. Cells and outputs are shared between the UI and the agent — code executed by the agent appears in the right panel and vice versa.
Note: The Jupyter process persists across sessions. Stop it via the kernel status indicator in the notebook panel header or from Settings → Science.
Images and attachments
- Images — paste or attach images in chat. They are saved under
{project}/.annodex-uploads/and shown again after reload. - Documents — attach files for text extraction where supported.
The project directory must be writable for image uploads.
Skills and extensions
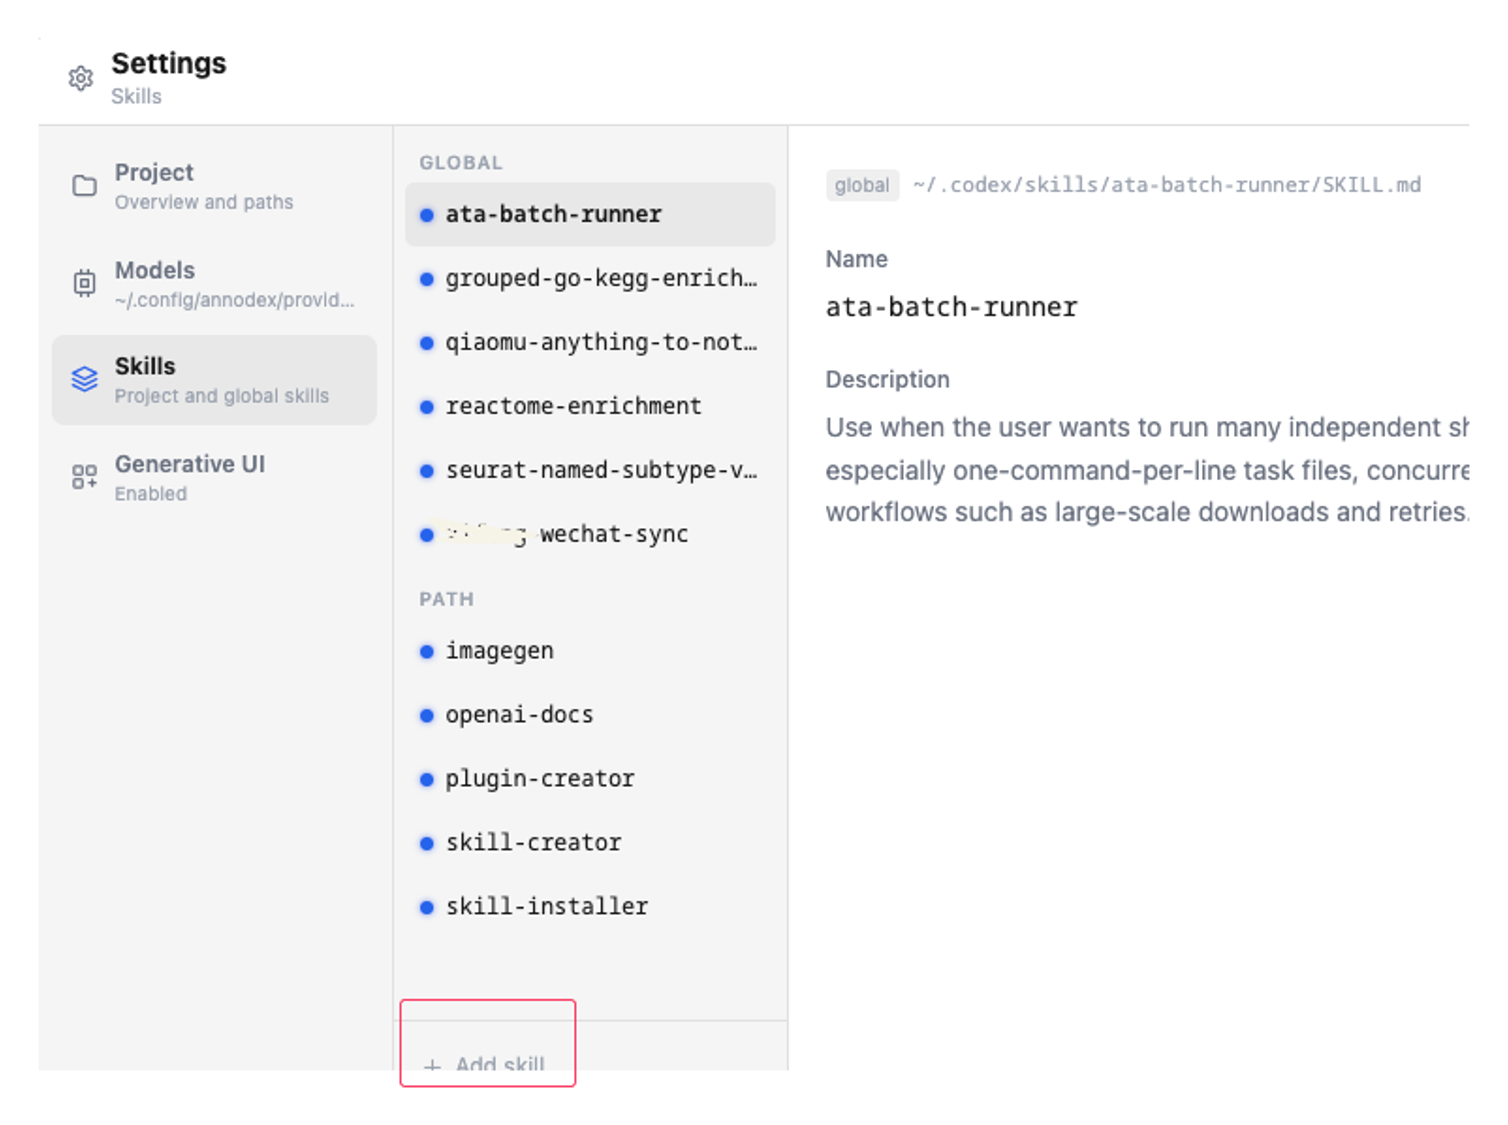
- Settings → Skills — review global and project skills (domain workflows the agent can follow).
- Settings → Extensions — add MCP servers with preset buttons (Annodex Memory, Browser Use, Custom MCP). Each row shows name, description, Saved for project, and Enabled in current chat; open Advanced for transport, scope, and install details. Global definitions live in
~/.config/annodex/extensions.json; project scope uses{project}/.codex/extensions.json.
Preview files and reports
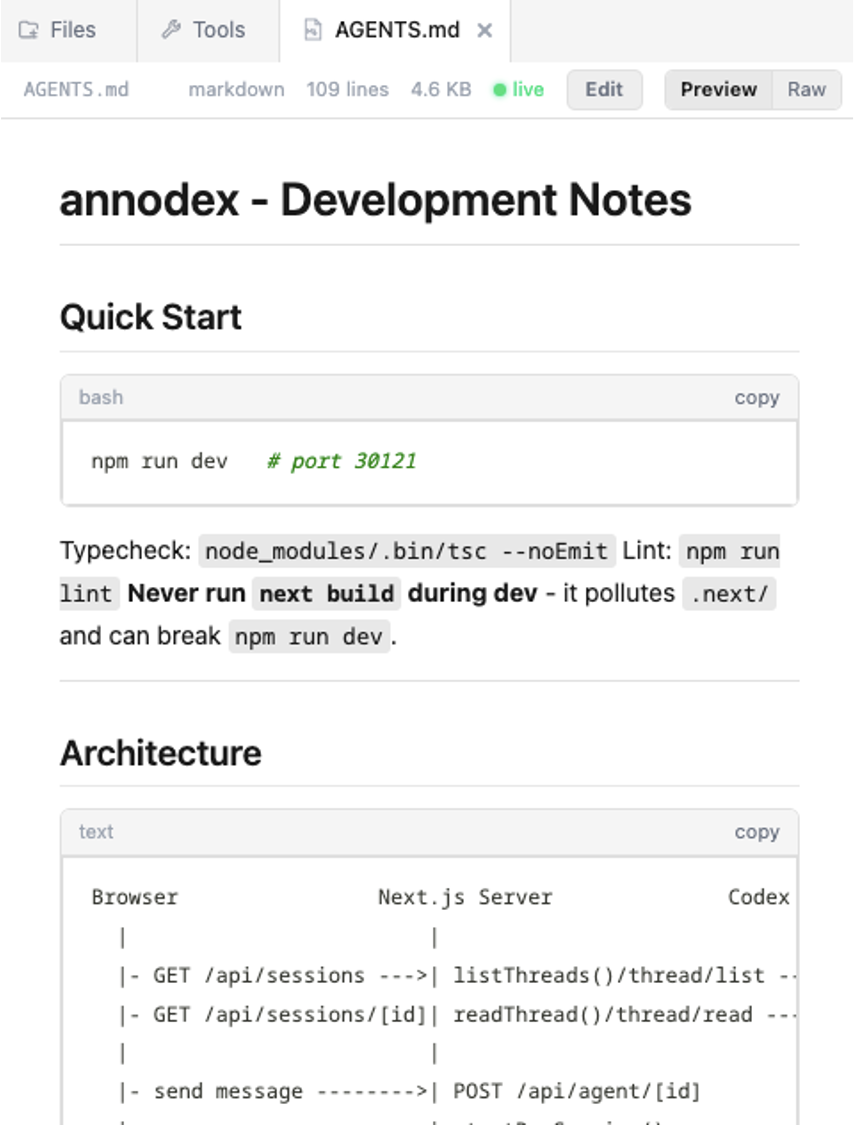
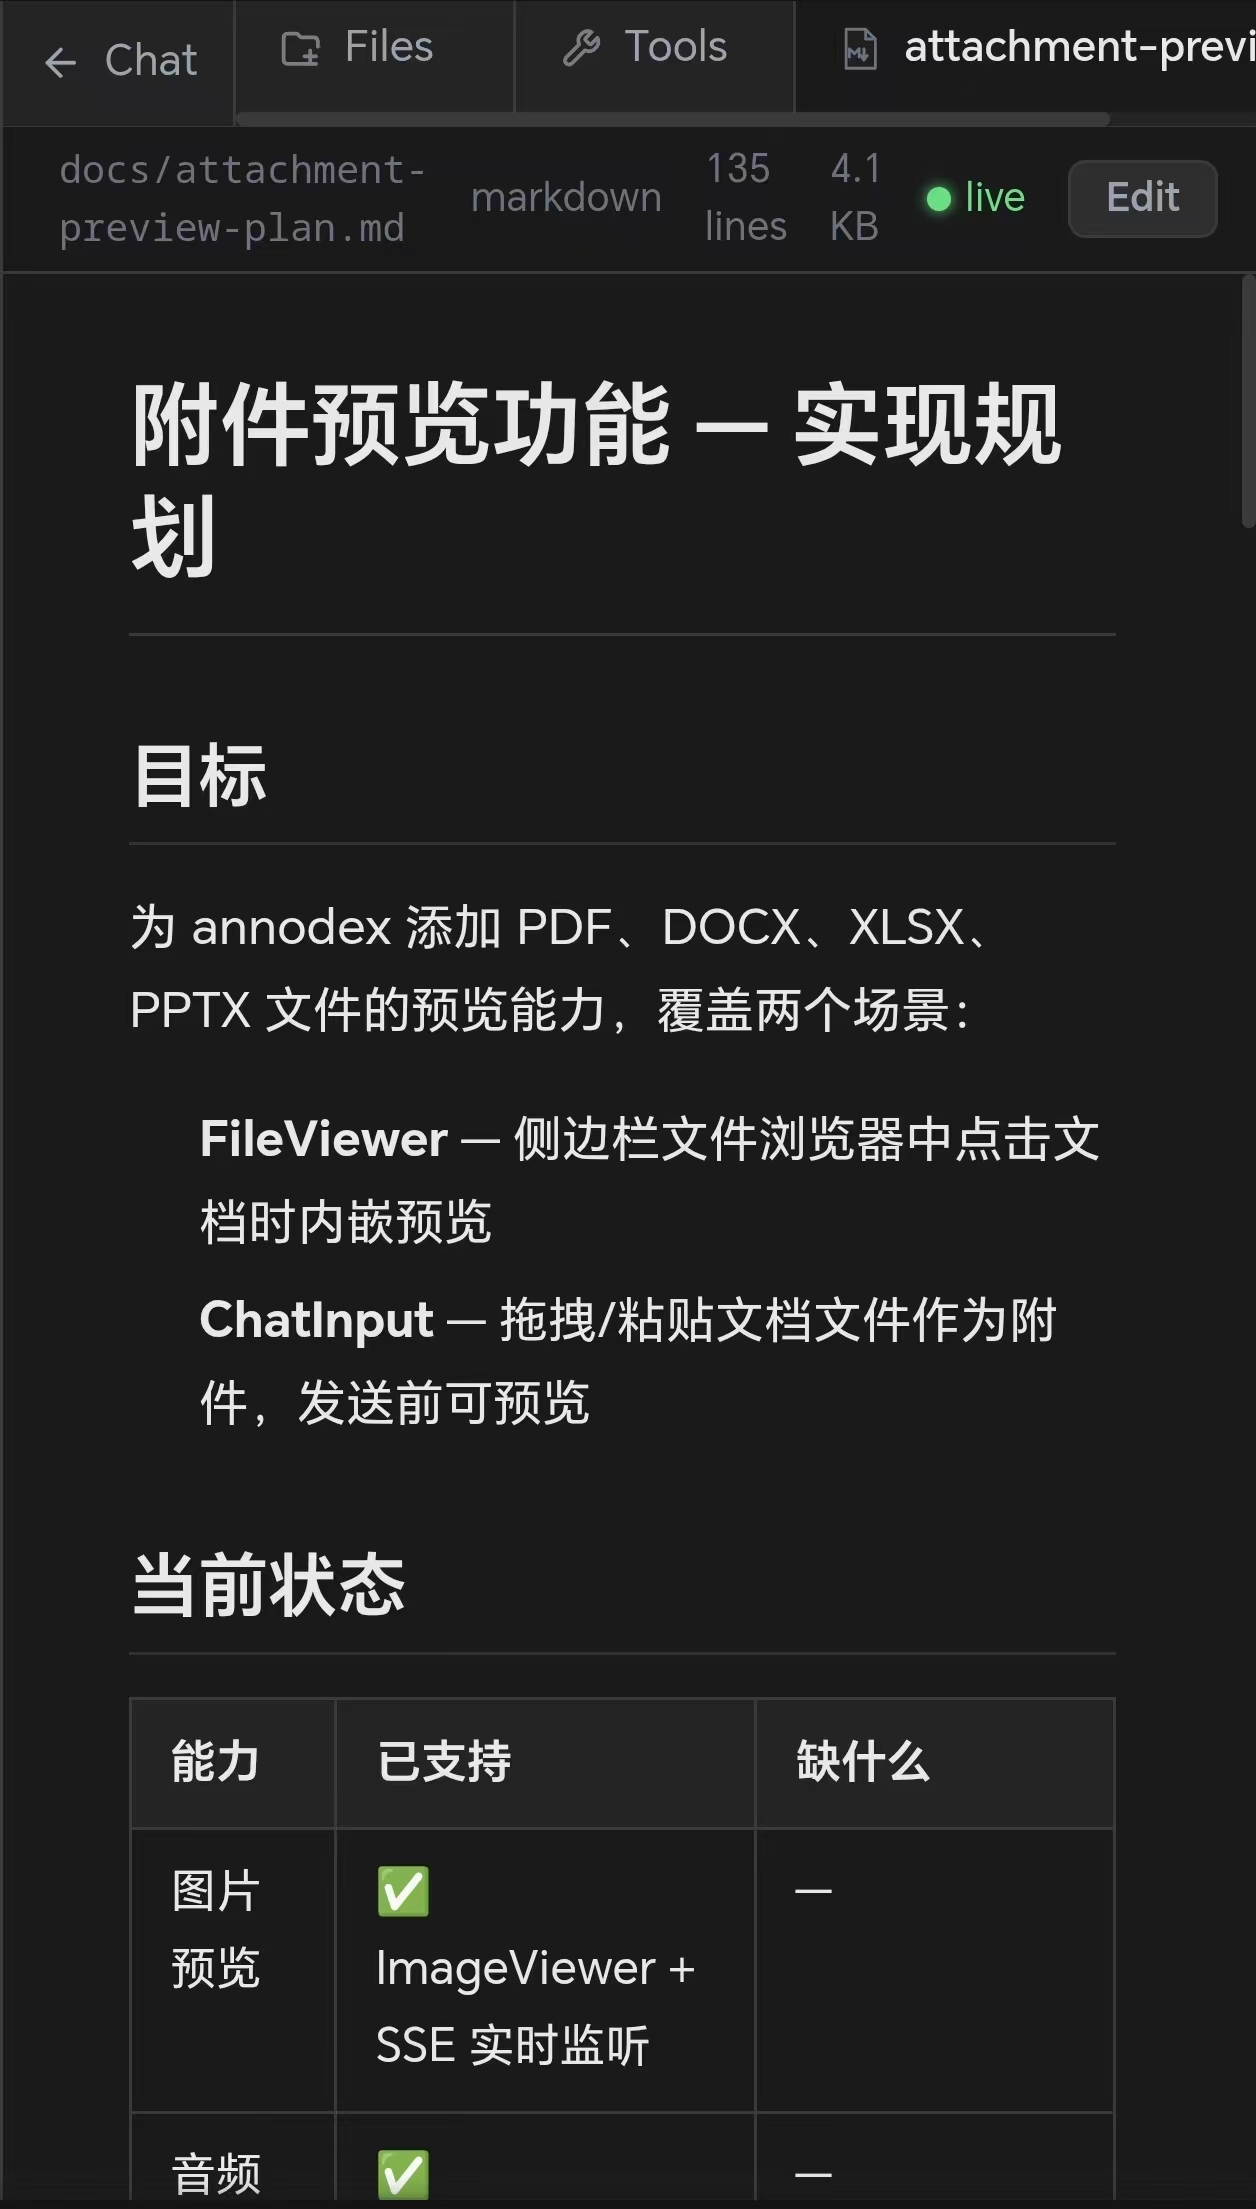
Use the Files tab to browse project files. Markdown renders inline; images, audio, PDFs, and Office documents open in the side panel.
The file tree supports these operations:
-
Right-click menu — right-click a file or folder to Rename, Delete, Copy Path, Copy Relative Path, or Reveal in Finder
-
Keyboard shortcuts — ↑↓ navigate, →← expand/collapse, Enter open, F2 rename, Delete remove
-
New File / New Folder — toolbar buttons in the Files panel
-
Virtual scrolling — large directories load lazily, only visible rows are rendered
-
Fuzzy search — the toolbar search box supports filename fuzzy matching
-
Drag-and-drop upload — drop files into the tree to upload them
-
Download — toolbar button saves the original file locally (
GET /api/files/...?type=download, 500MB cap). -
Edit — text files support in-panel editing with live sync; external changes while editing show a reload prompt.
-
Global persona —
SOUL.mdandHARNESS.mdlive under~/.config/annodex/(or$ANNODEX_CONFIG_DIR); edit them in your editor, not from the project file tree. See Configuration — SOUL.md.
Tools and memory
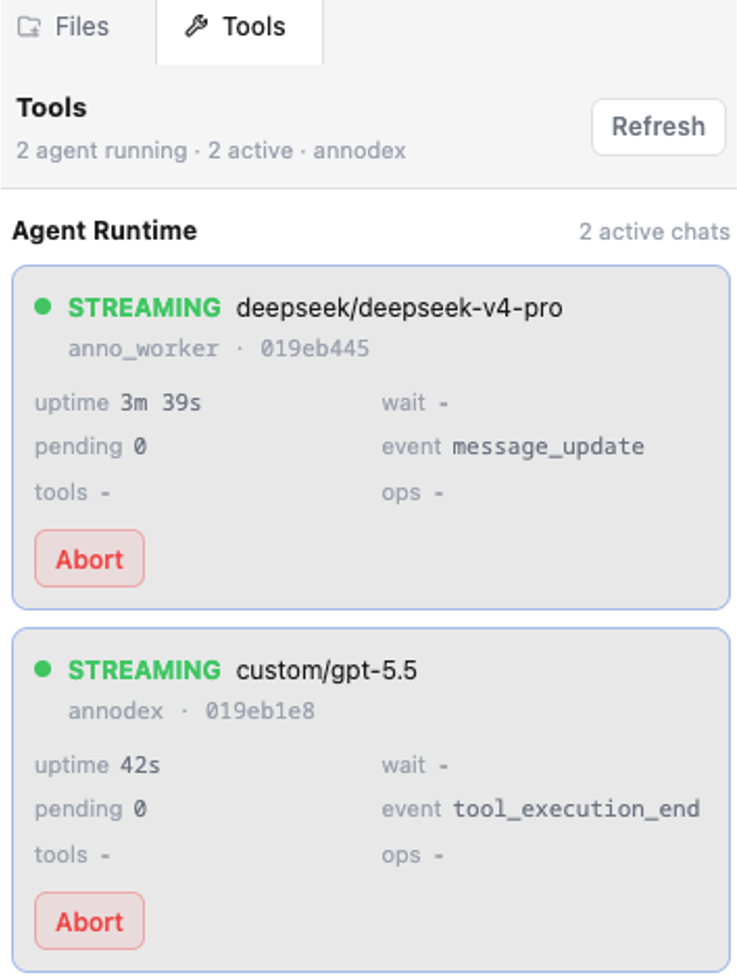
Open the Tools tab to:
- Monitor active agent runtimes (STREAMING, waiting, tool phases)
- Abort a stuck or unwanted turn
- Review Memory for the current project — counts by type, JSONL store path, promotion candidates, and recent entries
- Promote a candidate to MEMORY.md or CONTEXT.md with one click
Configure Project IM (WeCom bot per cwd) in Settings → Project — expand WeCom IM on any project row (enable switch, Bot ID/secret, pairing code, allowlist). Run annodex im-gateway (same Linux account as annodex) while the server is up.
WeCom onboarding: new users must send the project pairing code (or PAIR <code>) in WeCom before the agent runs; unpaired messages only return pairing instructions. Admins can also pre-add userid lines to the allowlist. Multiple users can share one code. See Project IM.
Memory tools (retain, recall, reflect) require the annodex-memory MCP extension — enable it under Settings → Extensions and in the chat bar Extensions menu. See Project Memory.
Mobile use
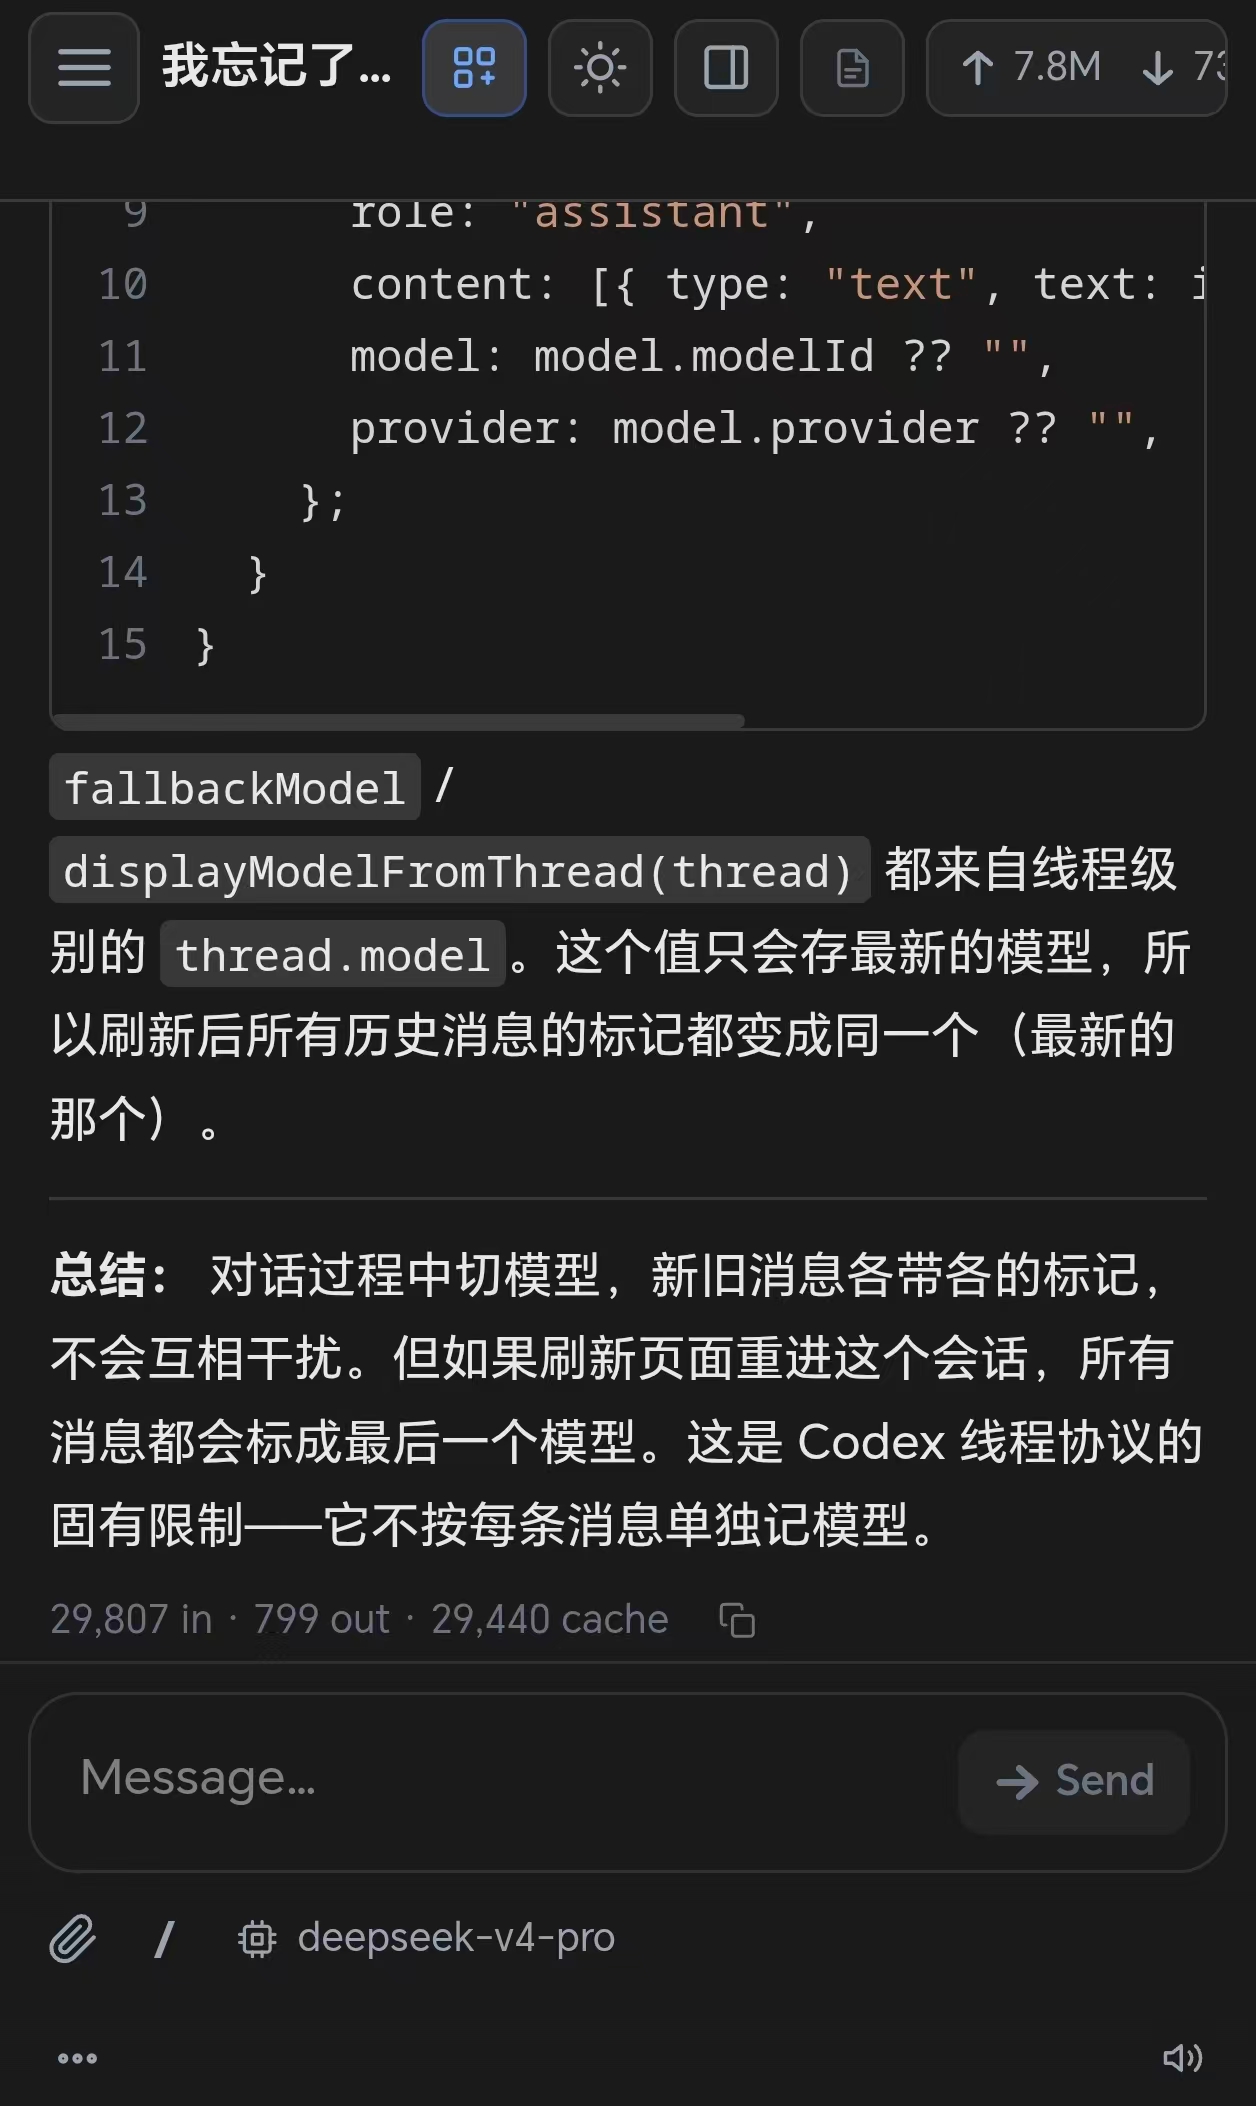
Annodex works in mobile browsers — useful when the server runs on Linux and you connect from another device on the same network (annodex --hostname 0.0.0.0). The chat bar Extensions control shows as an icon only on narrow screens; model, thinking, tools, and sandbox live under More.
Remote Access (Tunnel)
Annodex supports Cloudflare tunnels to expose your local server to the internet, useful for remote work across devices.
Prerequisites
Install cloudflared:
brew install cloudflared          # macOS
# or download from https://developers.cloudflare.com/cloudflare-one/connections/connect-networks/downloads/
Usage
# Start the tunnel
curl -X POST http://localhost:30121/api/tunnel/start
# → { "tunnelUrl": "https://abc-123.trycloudflare.com" }
Open the returned tunnelUrl in another device's browser. If you have set up password authentication in annodex (Settings → Password), the browser will redirect to the login page. Enter your password to access your workspace.
Stop the tunnel:
curl -X POST http://localhost:30121/api/tunnel/stopCheck status:
curl http://localhost:30121/api/tunnel/statusThe tunnel only handles network connectivity. Authentication is managed by annodex's own password system.
Storage checklist (Linux servers)
Before relying on annodex in production:
HOME(orANNODEX_CONFIG_DIR) is writable and has enough quota.CODEX_HOME(default~/.codex) is writable if you resume long-running thread history.- Project directories you analyze are writable if you paste images or use project-scoped extensions.
See Configuration for override examples.